Showing posts with label graduation. Show all posts

Thursday, March 10, 2022

We're So Proud - Two Page Scrapbook Layout

 Today I have another two page scrapbook layout to share with you. It's been almost two years since the day my son graduated from the police academy. Have you ever been chest-popping proud, almost like your heart just couldn't hold it all in? 

Being a police officer in today's society is so dangerous, and quite the sacrifice. I'm grateful to all who take this step in serving their community. 
These pics were taken directly after the ceremony. We are blessed with a wonderful family. Not perfect, by any definition!! But wonderful, and all mine, and they make me so proud! Family sticks together through thick or thin and I pray we continue to make each other better because of our bond! 
The layout is pretty simple. I backed the photos with a light gray/blue cardstock to help them pop off the dark patterned paper. The lighter diagonal woodgrain across the bottom, and the washi help to ground the photos and draw your eye across. I overlapped a few of the photos and used a Chevon stamp and punch to highlight my faves. That's it! Simple and easy to duplicate. 

Stay tuned for more academy graduation layouts! We took lots of pictures of this proud event!


Friday, June 3, 2011

More Graduation cards

Happy Friday! My dear friend and I are on our way to a weekend scrap retreat. We've had it on the calendar for months and it is finally here!! Before I leave, I wanted to get a quick post out to share some more graduation cards with you.

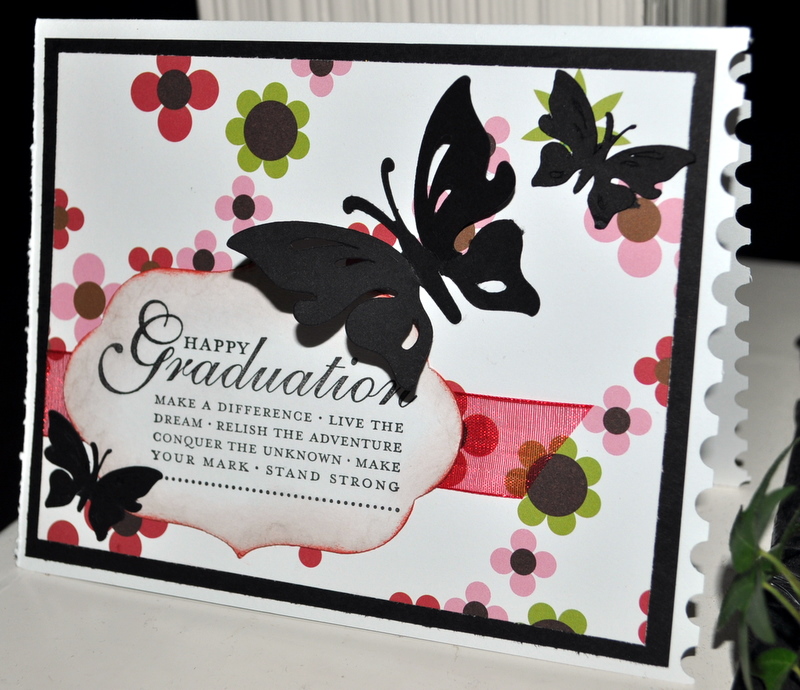
First, a few for the girl graduates. Loved the black butterflies!! These first three cards were inspired by cards I saw Splitcoaststampers. The sentiment is StampinUp! and patterned paper is some mysterious paper that I found in my stash...I love it when that happens...LOL. I used the postage stamp border punch on the edge for a little special detail. The butterfly is from the Indie cartridge (Cricut). I made four and I wish I had made more because I'd kind of like to keep one for myself. =)


This is so simple, but I love the way it turned out. The picture doesn't really do it justice. I used Coredinations cardstock in a very light pink, but it looks kind of gray here. Cut some black script paper with Plaintin Schoolbook cartridge as well as the adorable little flowers, and topped the flowers with tiny gemstones. Easy...so I made four of them for the speical young ladies that we know who are graduating this year.

I love the colors in this boys card! I used a lot of Kraft, black, and red. The map paper is Great Escapes from an 8x8 stack I found some time ago. I just sliced both of them in half and made four of this style of card. The sentiments are Tim Holtz. The cute little car is Graphically Speaking cartridge. I added "Class of 2011" by hand for some additional detail in the left corner. This was the first time I made an inside cut with my trimmer. It was pretty easily actually so I may keep this in mind and make more frames for my cards and layouts.  

These are sample thank you cards for my son to send after his party. I get inspired by logos and advertisements that I see and especially those combining fonts and numbers into an eye-catching design. I sat down and did this in WordArt in about 15 minutes. I don't pretend to be a designer, but I knew what I wanted and like the way it turned out. I was jumping up and down when I realized that my Creative Memories small square punch just happened to fit perfectly around the logo. I was able to easily frame it using the larger square punch and blue paper...very helpful when you're making multiples! The embossing folder is, of course, Tim Holtz! I have most of his new distress embossing folders and am a huge fan! 

Same idea here, but simpler. Only one layer and used a different (my favorite) Tim Holtz distress embossing folder right on the base of the card. Quicker and Jacob liked it the best...Lucky me! 

Come back Sunday for the Father's Day cards that I made! Have a wonderful weekend. Thanks for checking out my blog today!!!

Monday, May 30, 2011

Graduation Cards and my messy scrappy space

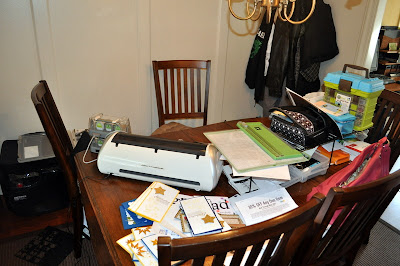
What have you been doing with your 3 day weekend? This picture pretty much sums mine up.

What a mess! We live in a 2 bedroom house so my craft space is in our formal dining room. Apparently, there will be no formal dining going on today, right? I've probably made over 30 cards this weekend! That is a record for me. I haven't worried too much about leaving my stuff out, although it totally sresses me out having a mess like that in open view of the front door! Some day, I will have a craft room...preferably with a door! =)
 
My son has been going to so many graudation open houses. There are about 56 kids in his graduating class and they all know each other. He doesn't want to miss anybody! I decided he shouldn't show up empty handed. These first cards were inspired by one I found in Splitcoast Stampers gallery. I made it my own with the sentiment and star stamps used. These go together really quickly. Yes, I realize many kids will just toss their cards, especially if there is no money in them, but that's okay. These kids have really reached out to my son during his first year at the school. It's tough to change schools as a senior, but for the most part, these kids have been so welcoming. Jacob has had a great year, and I'm happy to make these cards as a gesture of gratitude. 

I bought a package of glitter stars and had no idea that some of the stars on the bottom were humongous. I was able to use them, though, by cutting them in half and finding different placements for them.

I had a bunch of little gold gemstones in my stash which worked well with the star theme. 

My son loved the idea of being able to take a card with him to the open houses, but he said I would need to make a LOT more! So, I did. I changed the dimension on these so that they would fit into some extra envelopes that I already had on hand. I also got smart and cut my own stars with my Cricut using glitter paper. Smart! But, why didn't I think of that earlier before I bought the package of glitter stars? The star is Accent Essentials using the "roly poly" function key. The other change I made was the background distress stamp. It shows up dark in the picture here, but it looks better in person. The other change I made to get them done more quickly is I dotted stickles on some of the stars rather than gemstones. That was much faster and cheaper. Again, hard to see in the photo. I made 10 of these!

This little number was a lot of fun, but quite time consuming. I thought he could give these to some of his closer friends at school. I used my brand new StampinUp! owl punch. I had seen several with the adorable little wings and finally figured out I could use my scallop circle punch by cutting it ino pieces (like a pie). I think it made a great little owl wing!  Then, for the grad hat... I tried cutting a square, but I thought it looked strange, so I cut my squares into diamond shapes, and used a circle punch cut in half for the part that goes on the owls head. Then I used a tiny matching brad, and some floss for the tassle. Cute! It is a little time consuming to glue it all together, but I love the way it turned out, so I made 4 more!

I will have more card posts in a day or two. Have a great Memorial Day. Enjoy your family and take time to think about the freedom that we enjoy thanks to our military and their huge sacrifice. We are so blessed here in the USA!

Sunday, January 16, 2011

A few cards to share

I actually pulled off the big surprise party for my husband's 50th! He was pleasantly surprised by a house full of friends and family Thursday night after we came back from his birthday dinner. He's pretty observant about everything going on around him. To make matters worse, I talk about every detail going through my brain, but I didn't let anything slip!! We had a great weekend with his sister, brother-in-law, father, nephew, and our kids. There will be many great scrappy opportunities later on from these pics too. =)

It's time to post something...I do have a few cards that I've made in the last couple of months. Hope these inspire you in some way!

The first one is a birthday card for a friend of ours who also turned 50 recently.

This is a graduation card I made for my brother who recently graduated with a degree in health administration.

Sunday, August 15, 2010

Keystone class of 2010

Here's one submitted to Scrapbook Deals 4U challenge #65.

Here are both pages of the layout together. This one was bittersweet since it will be Keystone's last graduation class. My son, Jacob will be a senior this year, but he is going to another local Christian school instead of Keystone. It's sad, but so far it is going really well for him.

Have a great day and thanks for looking at my blog.

Tuesday, June 22, 2010

More Non-Traditional Graduation cards

We're back from a restful vacation and sliding back into the techy world we live in. We were at a cottage near Lake Michigan where the Direct TV box didn't work, there was no internet connection to be found, and cell phone connection was even a little hit or miss! With 2 older teenaged boys, you'd think we'd have had a riot on our hands, but after a day or two, we were all thankful for the lack of distractions. My younger son even made comment that he thought it was cool because we spent more time together and really relaxed. So, I was thrown back into the real world today with 174 e-mails waiting in my in-box for me at work. Big sigh....

Here are the last of the graduation cards that I have to share with you. I haven't mailed a couple of these yet, but I'm sharing them anyway. =/ All of these are for girls who are close to the family. Pretty non-traditional because there is no cap or gown anywhere! =)


Thanks for looking!

Friday, June 11, 2010

Graduation Cards

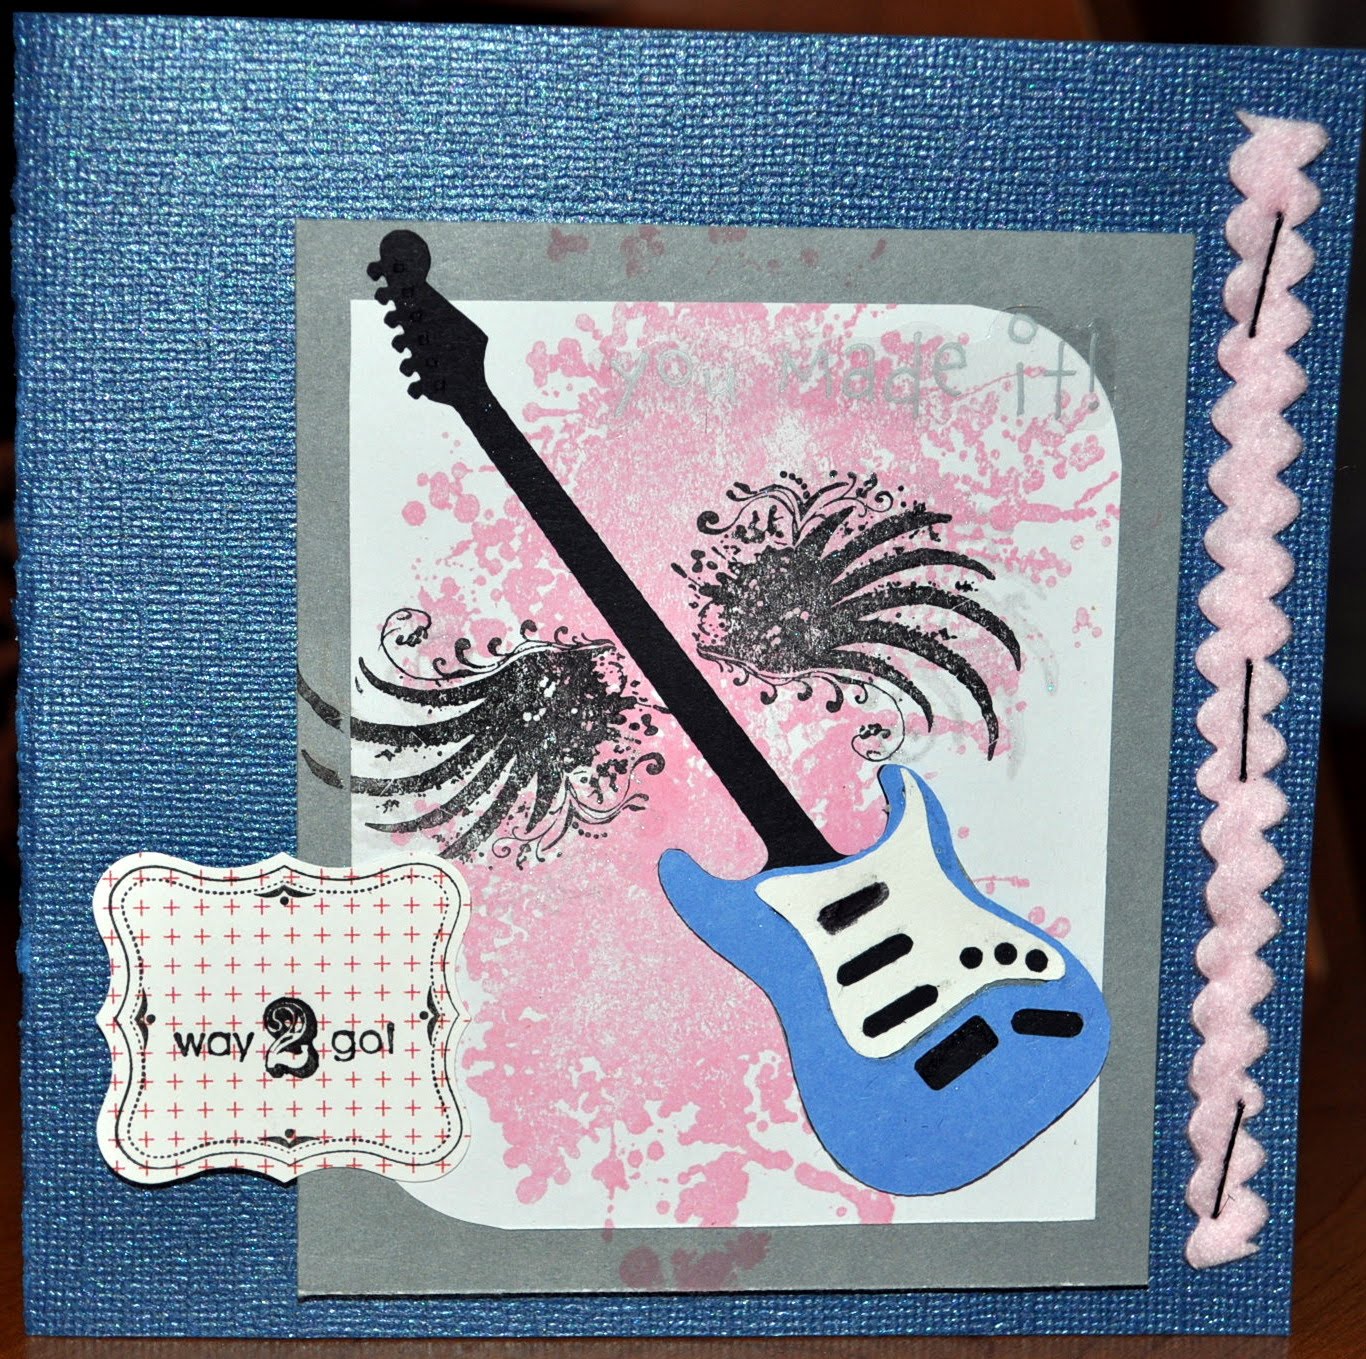
Everybody is going to graduation open houses right now. Need a card? Save yourself some time and lift these designs if you'd like. Cards take me a long time, especially when I don't have a plan. I hope I will get faster as I do more and more. I enjoy them when they come together. I didn't use any kind of a sketch for these. Maybe I should have and it might have gone a little faster. LOL!


Thanks for looking! I will be on vacation for a week in a cottage. I don't think we have internet access, so if you don't see a post for awhile...know that I'm relaxing near Lake Michigan! Have a wonderful week.