Hello! Can't hardly believe it is already Memorial Day weekend. It was just March! As I get older, times flies faster and faster. Sometimes it makes my head spin.
I'm back today to share another Yellowstone layout with you. Hope it inspires you in some way.
As we traveled through Yellowstone, we had the privilege of seeing a herd of Pronghorn run across the road. We had enough time to snap some pictures.
The paper and embellishments are from KaiserCraft "Let's Go" collection. I love to buy packs of coordinating paper like this. It makes it so much easier to put a page together without searching for endless coordinating paper and random embellishments.
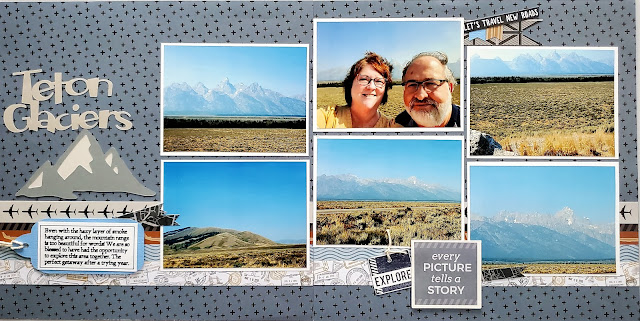
I remember trying to make this page look a little different. I achieved that... Haha....but I don't think I will ever get used to the upside down pennant. It's really throwing me off. Oh well, I like everything else about the page, so it will stay.
I'm enjoying reliving our trip to the Tetons as I share my scrapbook with you. It was so amazing! The scenery, the wildlife, the mountains! I hope we will have time to go back some day! Highly recommend it...10 out of 10!
Thanks for stopping by! Enjoy your holiday, but most of all remember the reason behind it as you think on these lyrics.
"America the Beautiful"
"O beautiful for heroes proved
In liberating strife,
Who more than self their country love
And mercy more than life."